
As a user, it is possible to add documents to the groups of which you are a member. These documents are only visible to the members of the concerning group.
Adding a document to a group
If you want to add a document to a group of which you are a member, take the following steps:
- Hover over the Groups button which you can find in the top menu.
- Click on the group in which you want to upload a document and make sure you are on the Timeline.
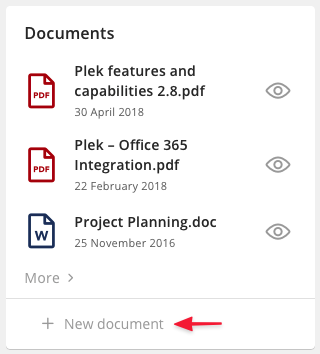
- Click on New Document, you find this on the right side of the group timeline.
3a Or choose Documents from the menu bar and then choose New Document.

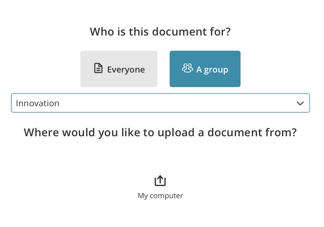
A screen pops up that allows you to select the document upload option for a group. Select A group, and then choose the desired group from the drop-down menu. Then, click on my computer. Please note that if you upload a document following step 3a instead of 3, then you will not be provided the option to select the group. In that case, it is automatically selected for you and you will only have to click my computer.
A screen opens in which all maps located at your computer are displayed.
- Navigate to the map where the desired document is saved and double press on this document.
A screen where you can change the settings of this document pops up.
- Give the document a title and a description. Optionally, fill in more information about this document (e.g. publication date and tags).
- Then press Save.
Now you see the display of your document with the information you just added. This is how the other group members will see it.
- Press the X at the top right.
Your document is now added to the group. All documents that are uploaded in the group are shown in the column on the right side.
TIP!
A complete explanation about uploading documents on a group page (with screenshots and instructions) is available here.